Endpoint Reachability
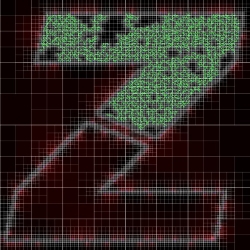
Make sure that it is possible to get from your red starting point to your white ending point. For example, in the following input, a green line has been drawn through the center so that there is no continuous path of black from the red point to the white point:

./examples/nopath.ppm
If we run LumosQuad on this input, the simulation will run until the top fills up:

If you're lucky, the simulation will give you an error and terminate. If you're unlucky, it will crash. Make sure a path exists before setting off a big simulation.
Single Main Stroke
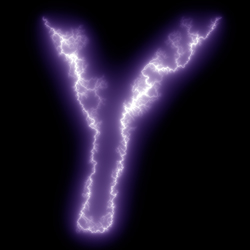
There is only one main central stroke, so you may not get the results you expect. The letter Z can be drawn in a single stroke, so it is a good fit. By contrast, in the letter Y, one of the prongs is going to be neglected:

./examples/y.ppm

LumosQuad y.ppm y.exr
The upper right prong of the Y does not have a bright stroke going through it, which may have been the effect you were hoping for. You may have to do something more clever here, like have the main stroke pass twice through the bottom prong and snake its way up into the upper right prong:

./examples/y-second.ppm

LumosQuad y-second.ppm y-second.exr
Of course, now you have an unbalanced result where there are twice as many strokes in the bottom prong than in the top prongs. If you want a different effect, you need to experiment more.
That's all for now, I hope you find this useful. Send me an email (kim@cs.unc.edu) if you have any questions.
> Back to main LumosQuad page
< Go back to simulation tweaking
|